|
I have developed this technique for adding
correct star color to narrowband tri-color images. This works best for
nebulae that are basically red when imaged in RGB light. The general
concept is to turn all the stars white with PhotoShop's color noise
reduction routine, then reduce the "white" brightness and overlay the
RGB stars.
Although there are
several was to overlay stars, I have found this to work reasonably well.
Here's the details.
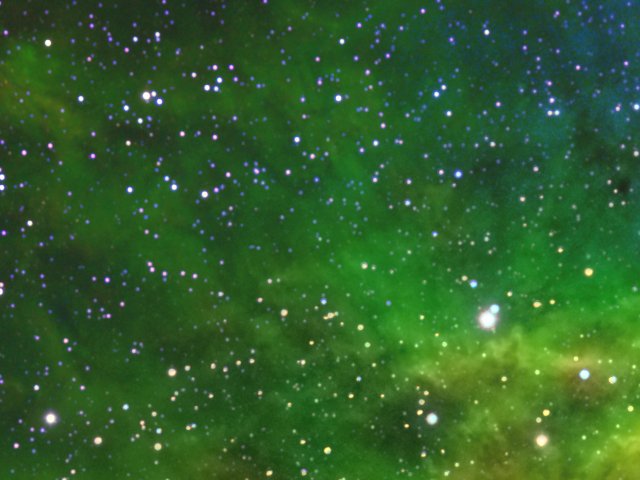
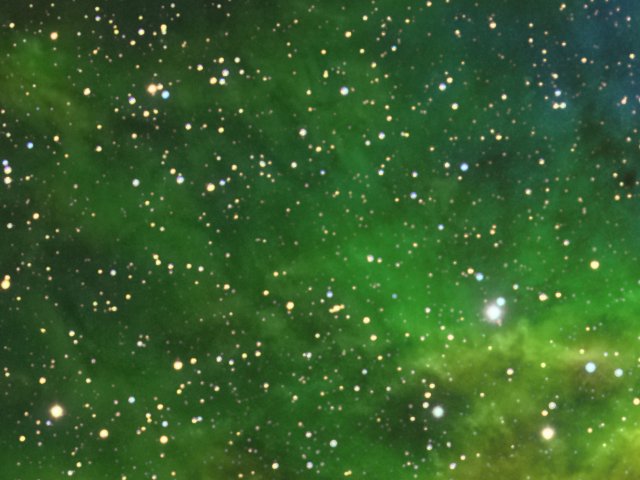
Figure 1 shows typical false star
colors in a narrowband color mapped image. In this case, there are may
incorrect cyan stars. Often, the image will be dominated with magenta
stars. This process will work for all cases.
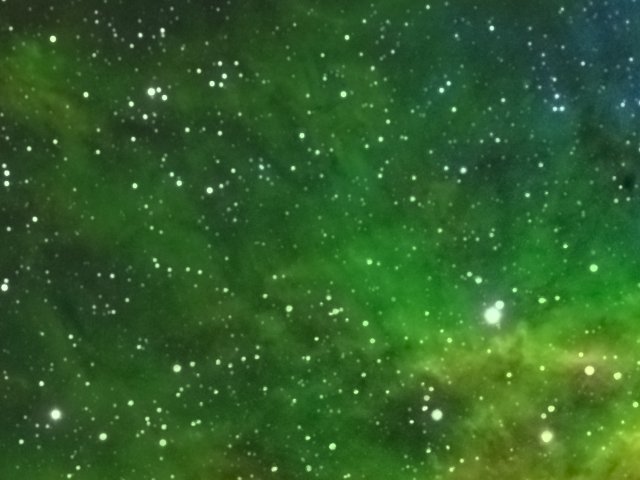
In Figure 2, the stars are now generally all white. PhotoShop's
Reduce Color Noise was used to gain this effect. On the Reduce Noise
Basic Screen, set the filters "strength" to zero, "reduce color noise"
to 100% and "sharpen details" to zero and press OK. The noise reduction
routine seems to identify the stars as color noise and will set the
stars to white. You may have to re-execute the filter a couple of times
to get them really white. Press "Ctrl+F" to run the routine again.
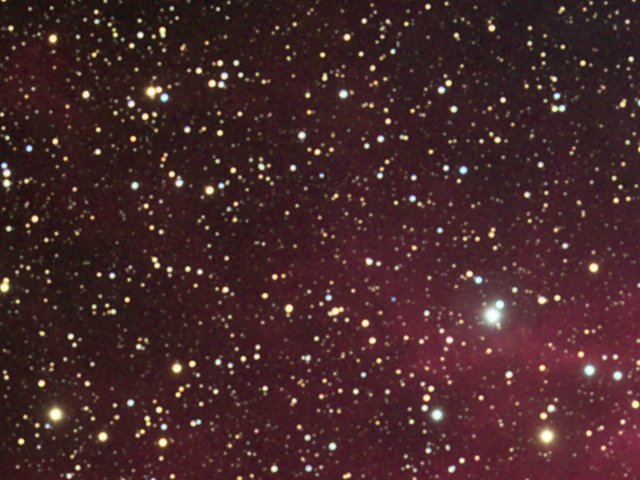
In Figure 3, the intensity of the white stars has been reduce by
using PhotoShop's Image|Adjustments|Selective Color routine. Select
"White" in the color drop down box. Then reduce the brightness of the
white by moving the "Black" slider to the right, probably all the way,
and click OK.
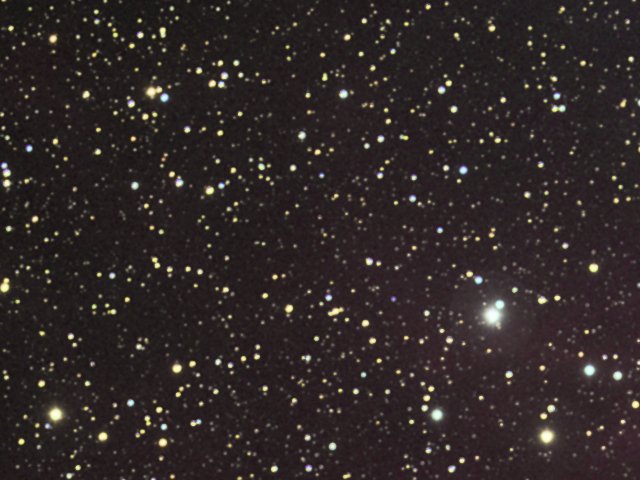
Figure 4 is an RGB image to be used as the source for the star
colors.
Figure 5 is the RGB image with the lightness of the red data reduced.
This can be done with the Image|Adjustments|Hue/Saturation or the
Image|Adjustments|Selective Color function. You may also want to reduce
the lightness of any other colors that are not correct for the stars.
The final step is to paste the stars, Figure 5, on top of the
narrowband tri-color image, in this example, Figure 3. In the Layers
Window, make Layer 1 active and select Lighten for the blend mode, with
the Opacity at 100% and only the colored stars will be added to the
background image. Flatten the image and you are finished. See Figure 6
for the final result. |