|
|
|
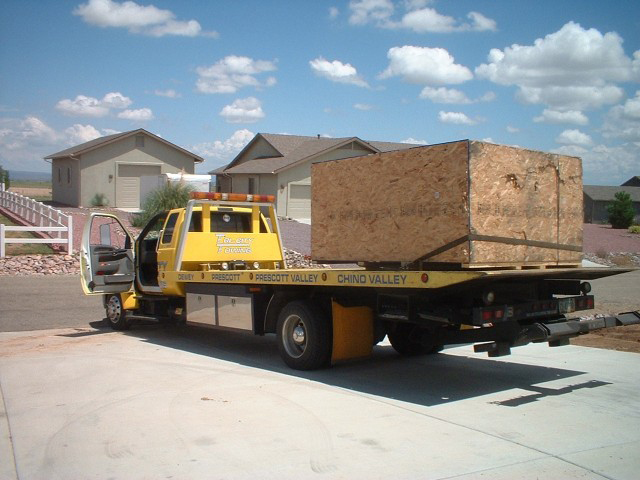
After losing the dome for
two weeks, Yellow Freight could not complete the delivery, because
the local terminal did not have a big enough truck. Tri-City Towing,
from Chino Valley, was able to get the "700 lb Box From Hell" to our house is less than
two hours.
Click on the image to go to Tri-City's home
page.
|
|
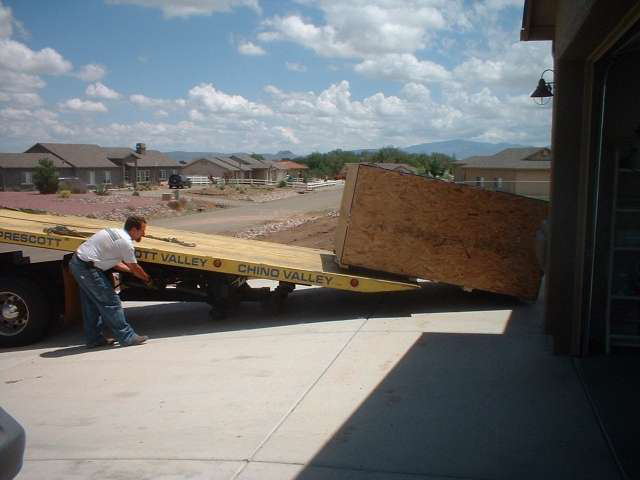
The driver placed the
box in front of the garage without the slightest bump. |
|
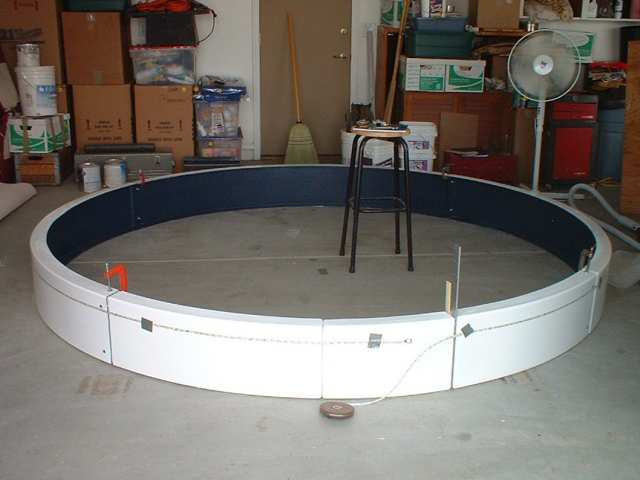
There was just enough
room in the small bay of our three car garage to do the
pre-assembly. I drew a 10-foot diameter circle on the floor, and
started the assembly. |
|
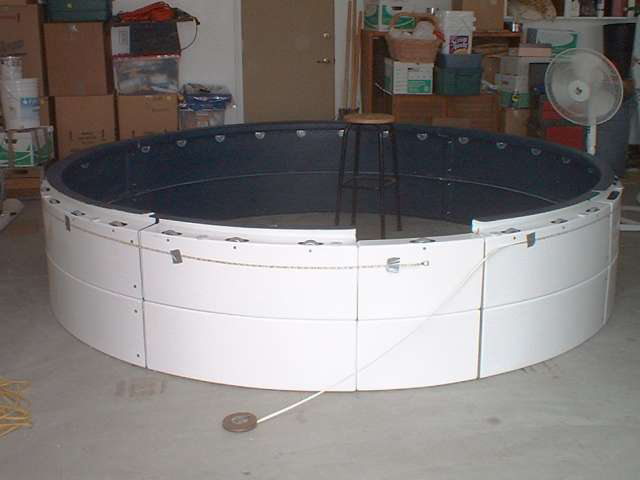
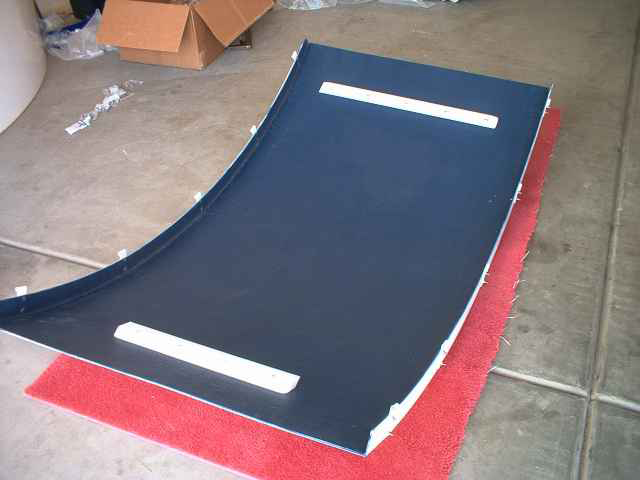
Here’s the complete
wall assembly, with one wall ring and the base ring on top. This was
later broken down into three sections, plus the door, and carried
out to the pad. |
|
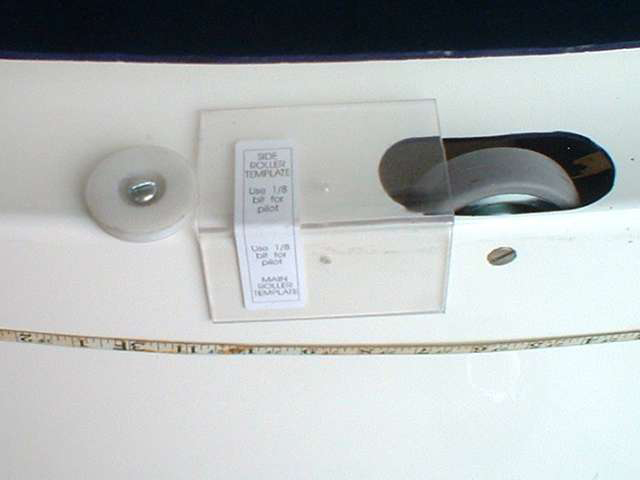
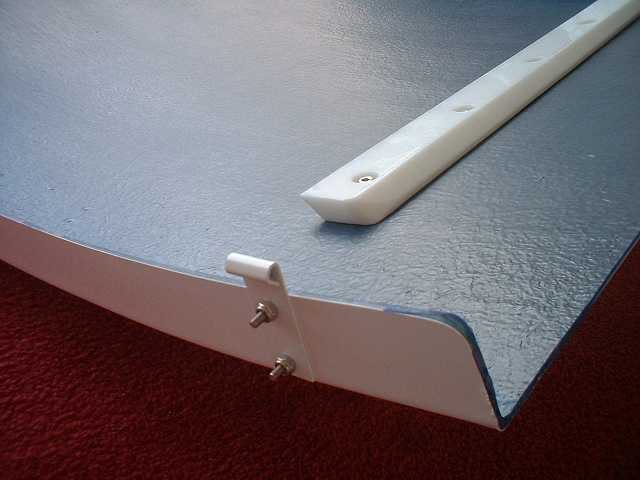
TI supplied a very
handy template to locate the holes for the side and main rollers.
|
|
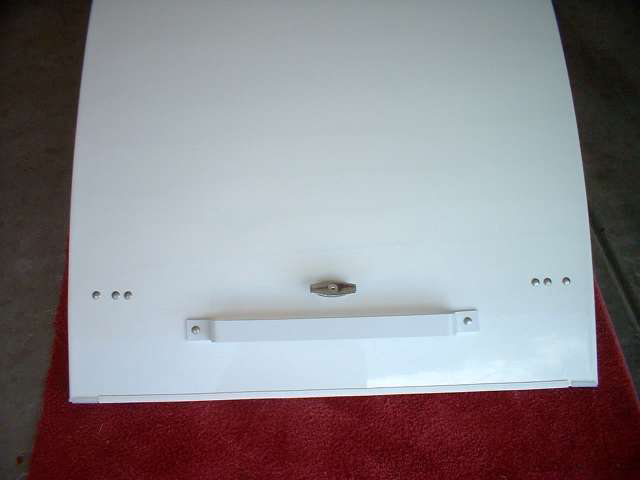
The inside of the
front shutter, showing the locking mechanism, the inside handle and
a couple of pulley assemblies for the cable system.
|
|
The inside of the rear
slot cover, showing the installation of the electric windlass.
|
|
The inside of the top
shutter, showing the installation of the bar latches.
|
|
A close up of the
installation of a J-Cable guide on the top shutter. This cable
prevents the top shutter from blowing off when opening or closing in
high winds.
|
|
The outside of the
front shutter, showing the locking and grab handles. |
|
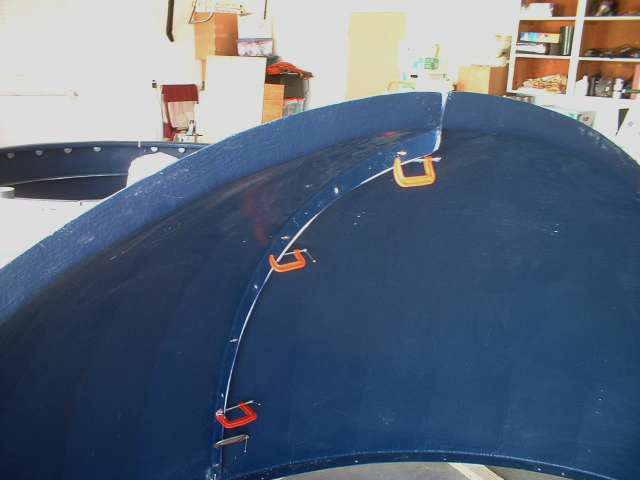
The pre-assembly of
two dome quadrants. C-clamps are necessary assembly tool, make sure
you have plenty. I suggest having ten. This was broken down and
reassembled at the observatory pad. Two people can install it, but
three is better… two to lift and one to guide. Also, do this on a
day with no wind.
|
|
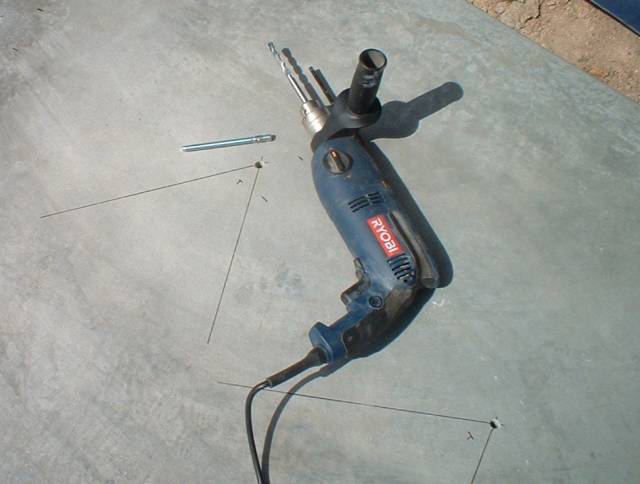
A 1/2 inch hammer
drill was used to bore the holes for the 3/8 inch RedHead wedge
anchors. I drilled all the holes and then moved the dome walls back
over the holes. The two black lines, extending from each hole, are
guides to find the center of the holes when later drilling the
bottom wall flange. |
|
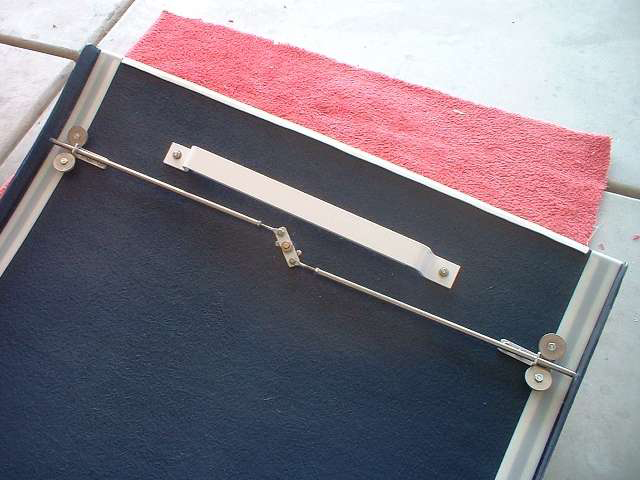
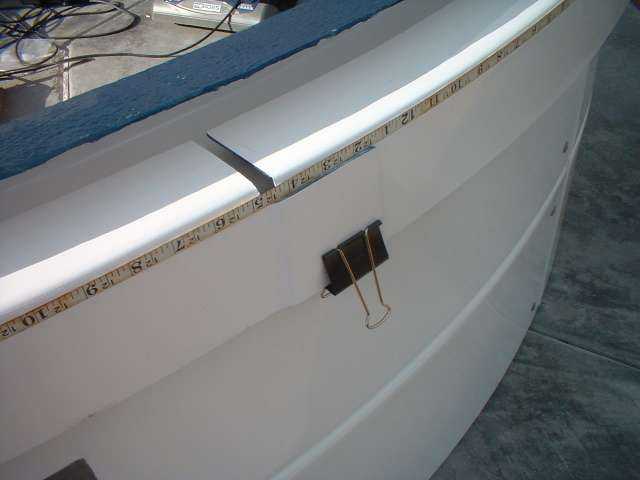
Large paper clips were
used while adjusting the dome support ring diameter. |
|
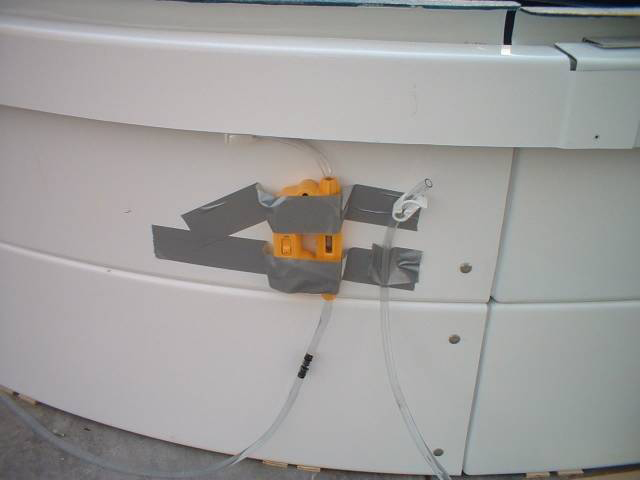
An electronic water
level was used to level the walls. This was a bit expensive,
but it sure made the job easy. Borrow one if you can. |
|
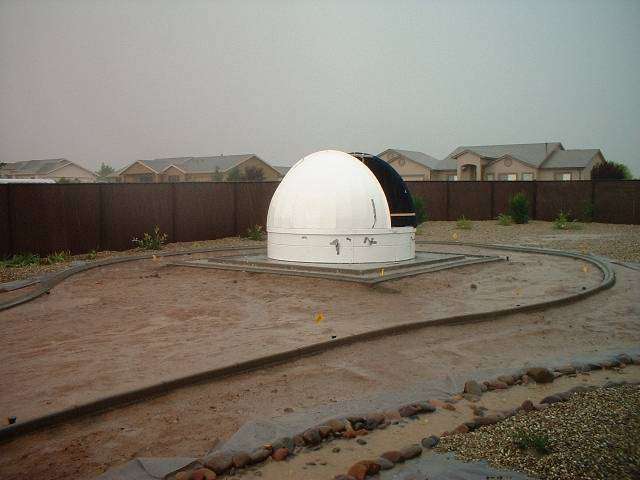
After the two dome
halves were erected and about half of the rear cover bolts were
installed, a sudden thunderstorm rolled though. It hadn’t rained for
weeks and now Mother Nature decided to provide 50-mph winds with
heavy rain, hail and lightning. I stayed inside to hold the dome
down, but it was doing just fine on its own. When the thunder got
down to a 2-second time delay, I ran for the cover of the house. In
just a 50-foot run I got completely soaked. The dome had no problem,
even though it was only partially assembled. |
|