|
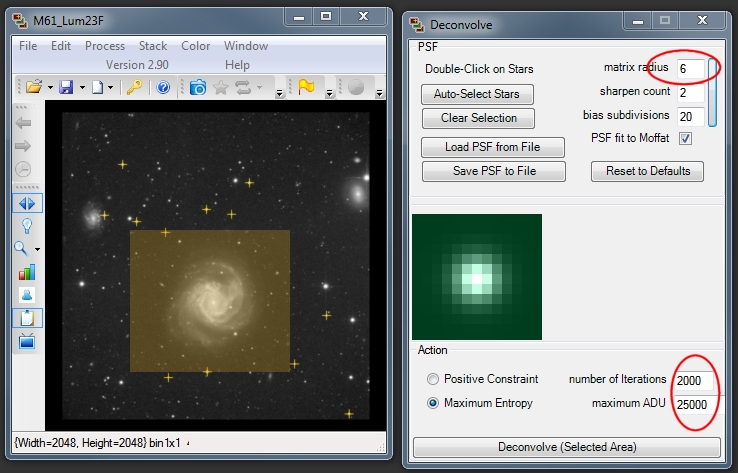
Open the convolution
dialog window and select Maximum Entropy. The documentation says to
set the maximum radius to 1 to 2 times the FWHM, as calculated by
CCDS. The suggested number of iterations is 100 to 300. However,
some images, such as this one, can benefit from thousands of
iterations. Set the maximum ADU to the brightest areas of the
galaxy. Limiting the maximum ADU shortens the calculation time.
Next, drag a selection rectangle covering only the main galaxy. This
greatly speeds up the process. Sometimes, it may be necessary
to process the entire image.
|
****************************************
|
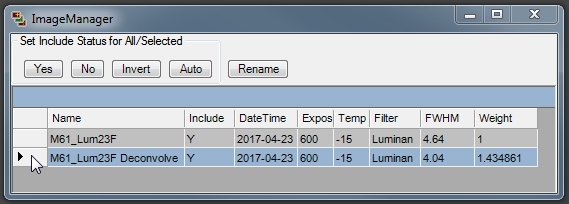
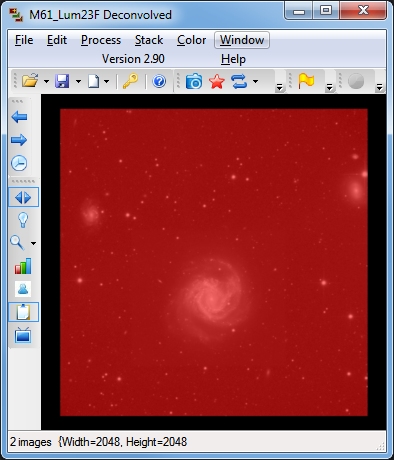
Make sure the new,
deconvolved, image is selected.
|
****************************************
|
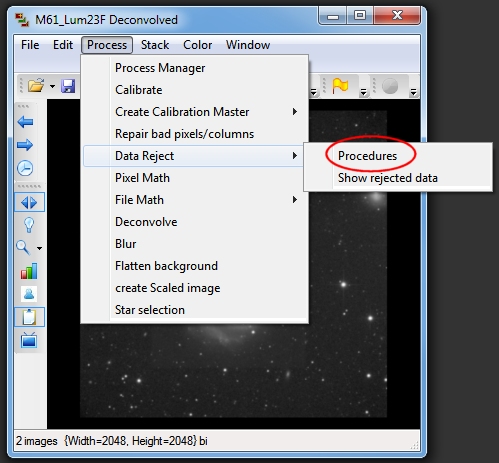
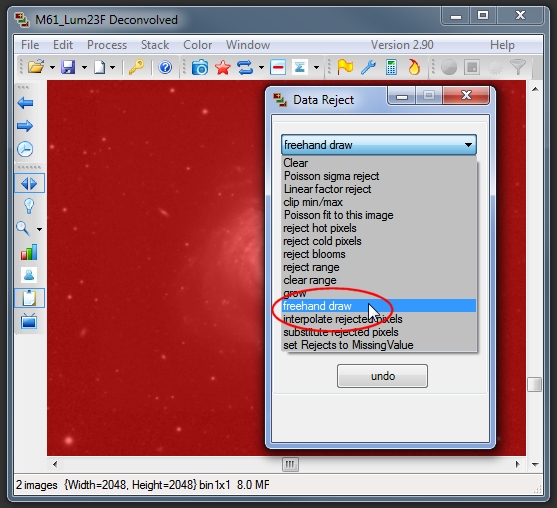
Open the Data Reject
window and select "reject range".
|
****************************************
|
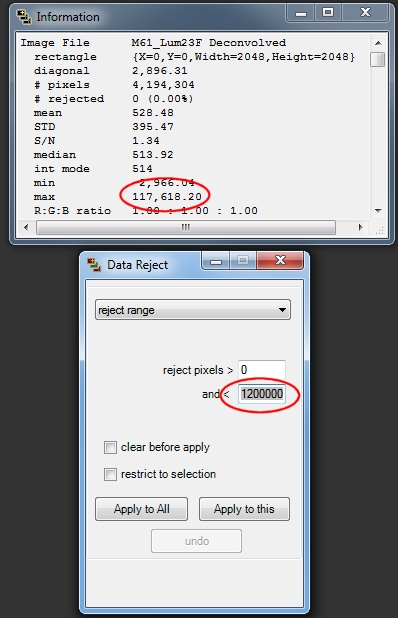
For this image, the
information window shows maximum values of about 118 thousand. To be
safe, enter 120 thousand and click "apply to this".
|
****************************************
|
All data in the image
are rejected. Now we must uncover just the deconvolved areas we want to keep.
|
****************************************
****************************************
|
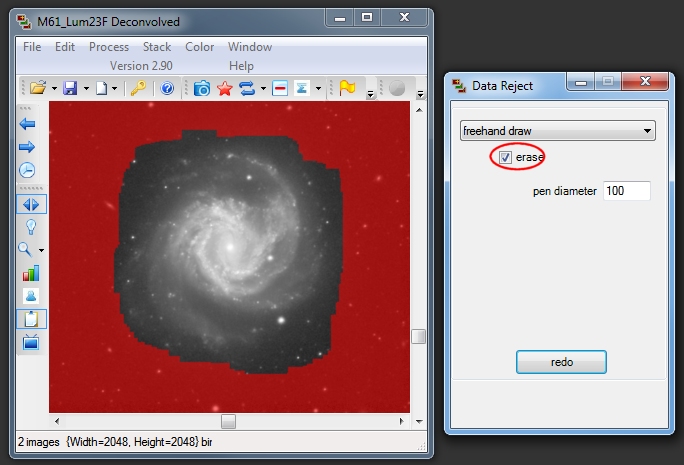
Hold down the left
mouse button and erase an area encompassing the galaxy.
|
****************************************
|
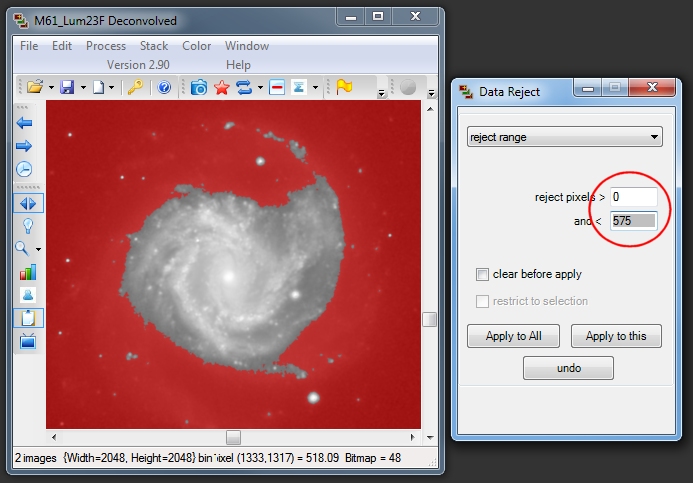
Now we can use "reject
range" to again reject the faint areas between the galaxy arms.
Start with about 100, for the maximum value, and double it until you
have gone too far. Then click "undo" and try increasingly smaller
values, until the rejection looks about right.
|
****************************************
|
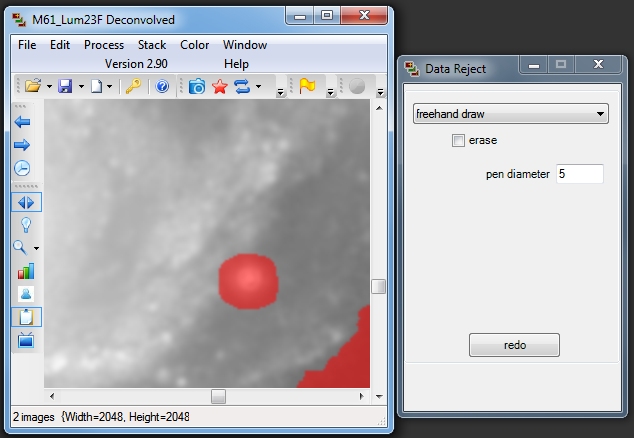
The image still as
three stars that need freehand rejection. The deconvolution process
created serious ringing artifacts around the brighter stars. Select
"freehand draw" and enter a small "pen diameter". Hold down the left
mouse button and paint over the stars. Be careful with stars between
galaxy arms. Start at the center and work outward to encompass
the ringing.
|
****************************************

|
Now we are ready to
combine the two images. Set the weight for the original image to one
and the deconvolved image to 10. Then do a mean combine. In the area
of the galaxy, the combined image will have one part of the original
and 10 parts of the deconvolved image. In the faint areas and the
bright stars, the data are 100% from the original image.
|
****************************************
|
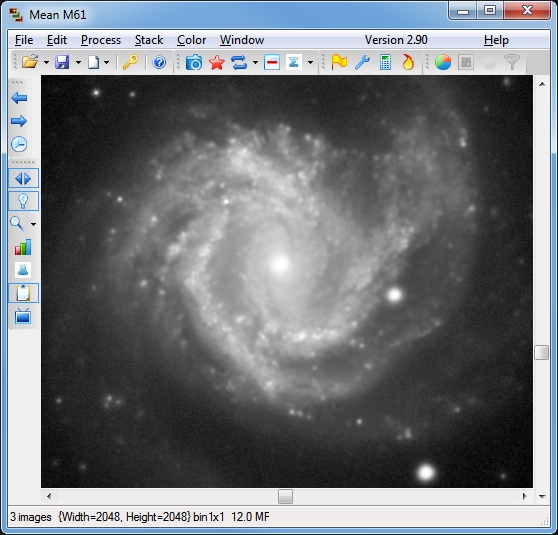
Here is the final
image. Placing your mouse cursor over the image toggles to the
original.
|